DNS Tunneling can be useful for getting out of a very restrictive corporate firewall (since almost nobody blocks DNS).
DNS Tunneling works by encoding IP protocol inside of DNS packets. Iodine is a cross-platform implementation of DNS Tunneling. This mini-guide will walk through the process of setting up a DNS Tunnel with Iodine.
Prerequisite: You will need a server with public IP and domain name
Setup DNS Tunnel
Setup DNS Records
Add 2 DNS records to your domain's DNS system:
* `A record`: tunnelhost -> your ip (maps tunnelhost.yourdomain.com to your server's ip)
* `NS record`: tunnel -> tunnelhost.yourdomain.com
Example:
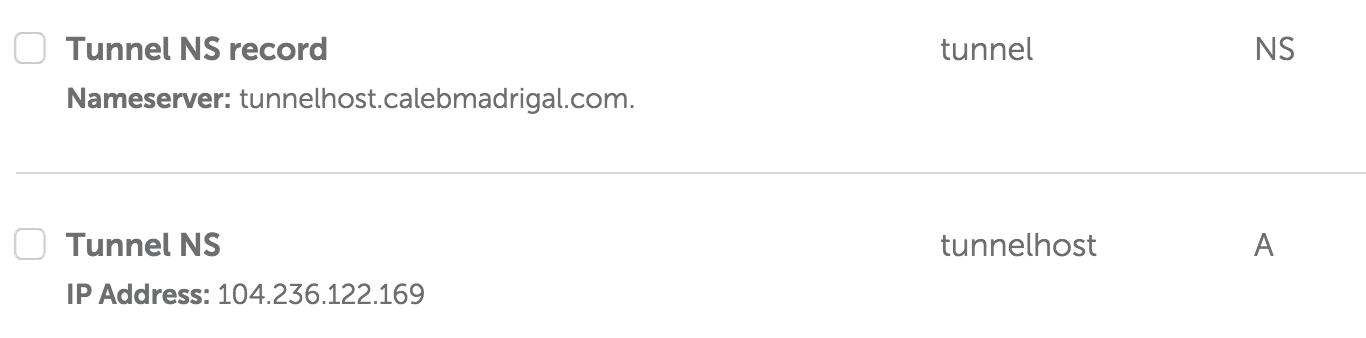
So now for me:
* `tunnelhost.calebmadrigal.com` now points to `104.236.122.169`
* `tunnel.calebmadrigal.com` now points to `tunnelhost.calebmadrigal.com`
    - **This is the URL I'll use for tunneling**
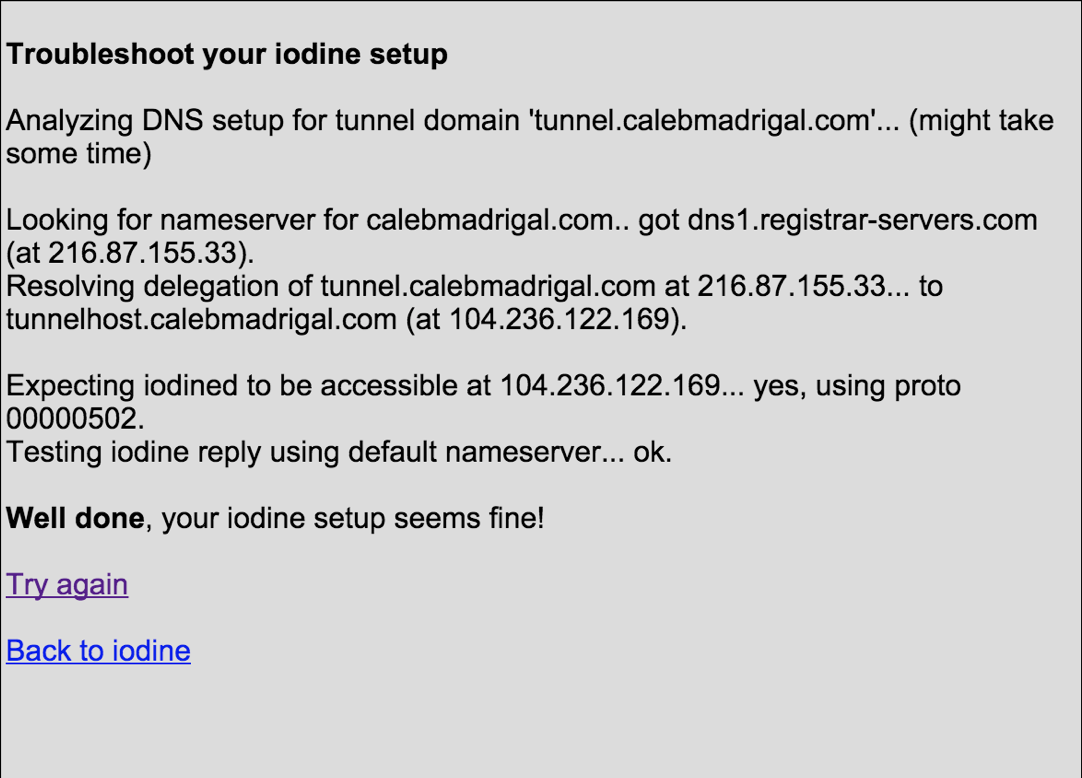
When you think you've set your DNS system correctly, you can check it with Iodine's test page: http://code.kryo.se/iodine/check-it/
Install Iodine on your server
My server runs Ubuntu, so to install Iodine on linux, I ran:
sudo apt-get install iodine
Install Iodine on your client
My client is a Mac, so to install Iodine on Mac, I ran:
brew install Caskroom/cask/tuntap
brew install iodine
However, I was unable to get the iodine client on my mac working with the iodine server running on Ubuntu. So I finally decided to just compile iodine on both my server and on my Ubuntu VM. Supposedly, iodine works best with the client and server are the exact same version. So...
Here is how to compile iodine on Ubuntu:
sudo apt-get install zlib1g-dev
git clone https://github.com/yarrick/iodine
cd iodine
make
This makes bin/iodine and bin/iodined.
Run Iodine server
sudo ./iodined -c -f 10.0.0.1 -P secretpassword tunnel.calebmadrigal.com
Run Iodine client
sudo ./iodine -I 50 -f -P secretpassword tunnel.calebmadrigal.com
Test DNS Tunnel setup
To make sure the DNS tunnel is setup correctly, you can:
Run ifconfig (on your client) and make sure there is a tun0 entry like this:
(py)iseeyou:~ caleb$ ifconfig
tun0: flags=8851<UP,POINTOPOINT,RUNNING,SIMPLEX,MULTICAST> mtu 1130
    inet 10.0.0.2 --> 10.0.0.2 netmask 0xffffffe0
    open (pid 53156)
Ping your server via the subnet IP (through the DNS tunnel):
(py)iseeyou:~ caleb$ ping 10.0.0.1
PING 10.0.0.1 (10.0.0.1): 56 data bytes
64 bytes from 10.0.0.1: icmp_seq=0 ttl=64 time=43.861 ms
64 bytes from 10.0.0.1: icmp_seq=1 ttl=64 time=44.518 ms
You can also test that you can SSH into your server via the subnet IP, via the DNS tunnel (note that I would typically login by ssh caleb@calebmadrigal.com):
(py)iseeyou:~ caleb$ ssh caleb@10.0.0.1
Last login: Sat Oct 17 22:46:23 2015 from cpe-24-167-237-173.wi.res.rr.com
caleb@calebmadrigal-com:~$
So at this point, you have a fully-functional DNS Tunnel up and running!
Setup SSH Tunnel inside of DNS Tunnel
Next, we are going to setup an SSH tunnel INSIDE of the DNS Tunnel. This will both setup a SOCKS proxy that will allow you to direct your network traffic through, and will secure your network traffic (at least between you and your server). For more information on SSH Tunneling and how it works, check out this article.
Run (something like) this on your client to setup an SSH Tunnel:
ssh -D 5000 -N caleb@10.0.0.1
Direct network traffic through tunnel
The simplest test is to use curl to download something through your SOCKS proxy like this:
curl --socks5-hostname 127.0.0.1:5000 http://httpbin.org/ip
You can verify that the IP it is returning is the IP of your ssh server.
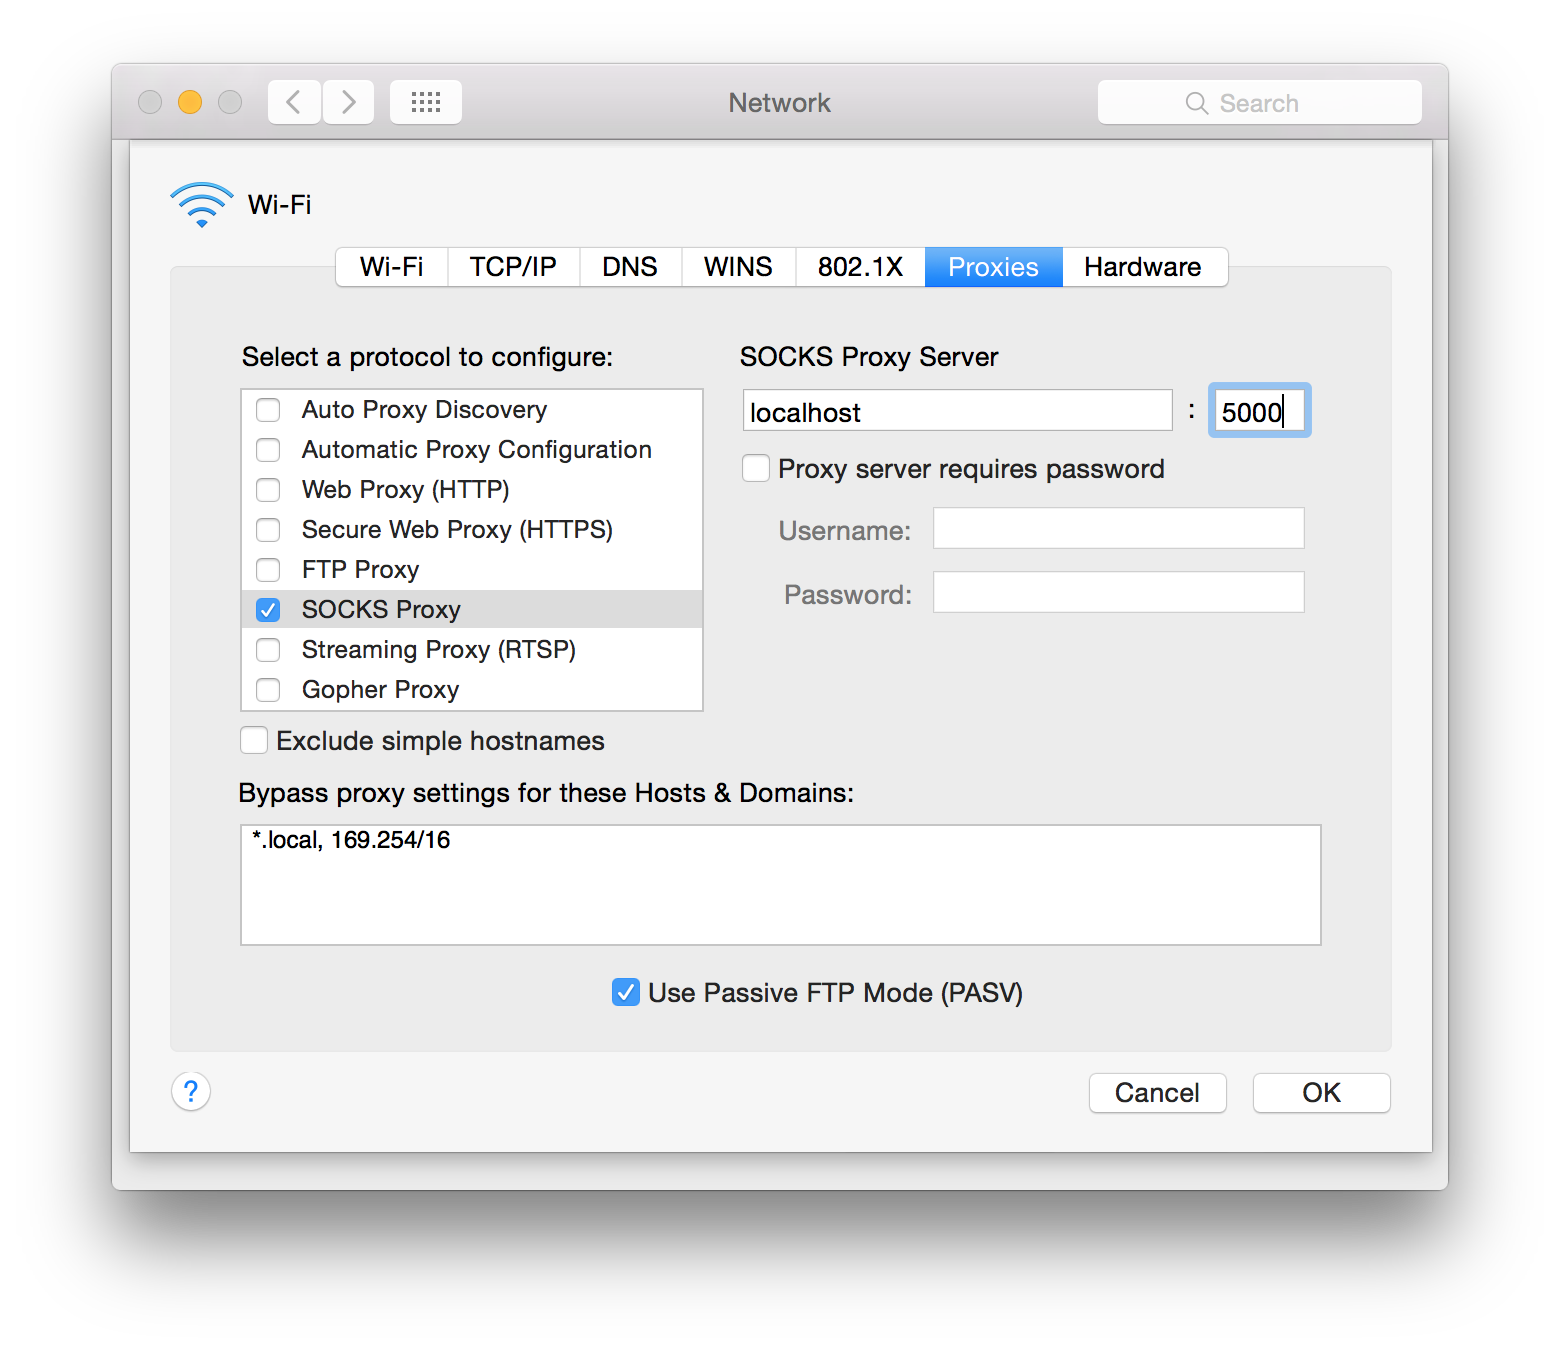
Alternatively, you can set the proxy for your whole computer like this...
To do this on OSX, go into Settings -> Network, and then:
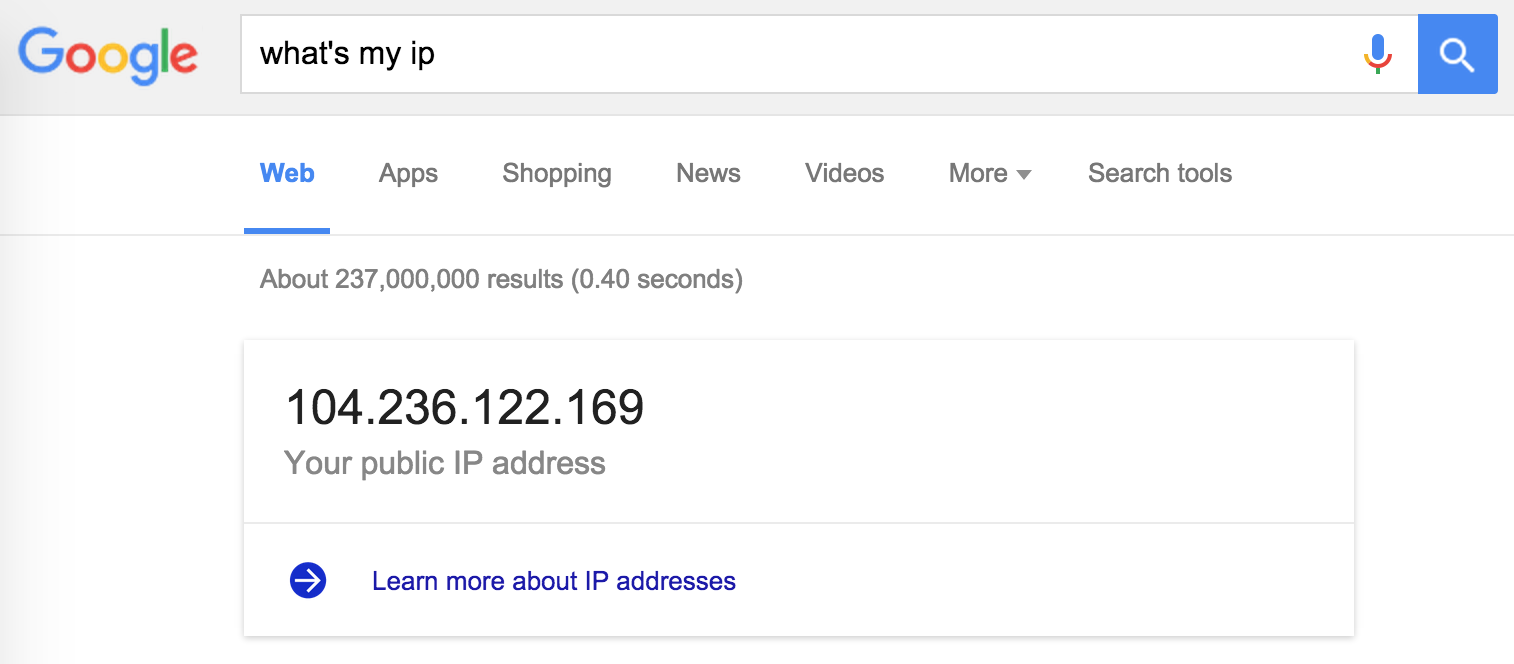
Proof that it's working
When you browse the internet through the tunnel, websites will see your IP address as being your server (your "exit node"), so to test that things are working right, check your with and without the tunneling on:
Without Tunneling:
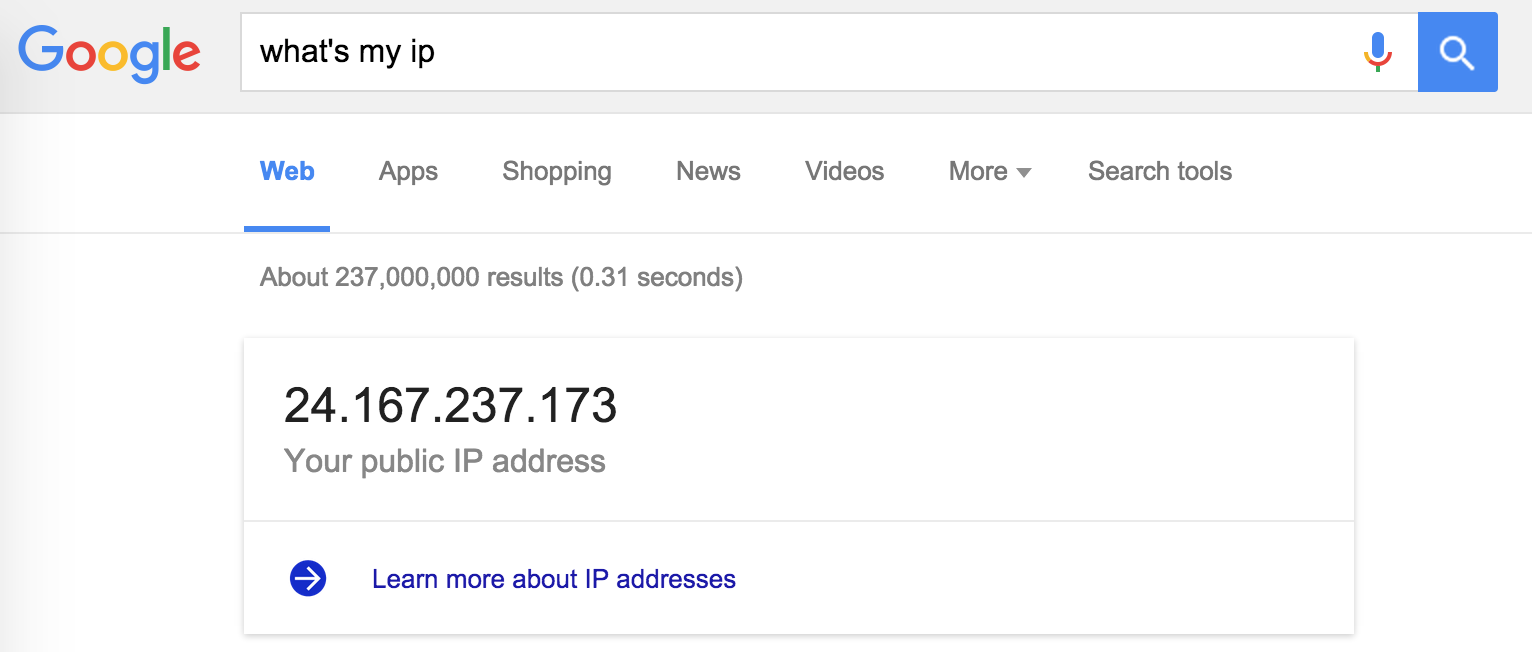
With Tunneling:
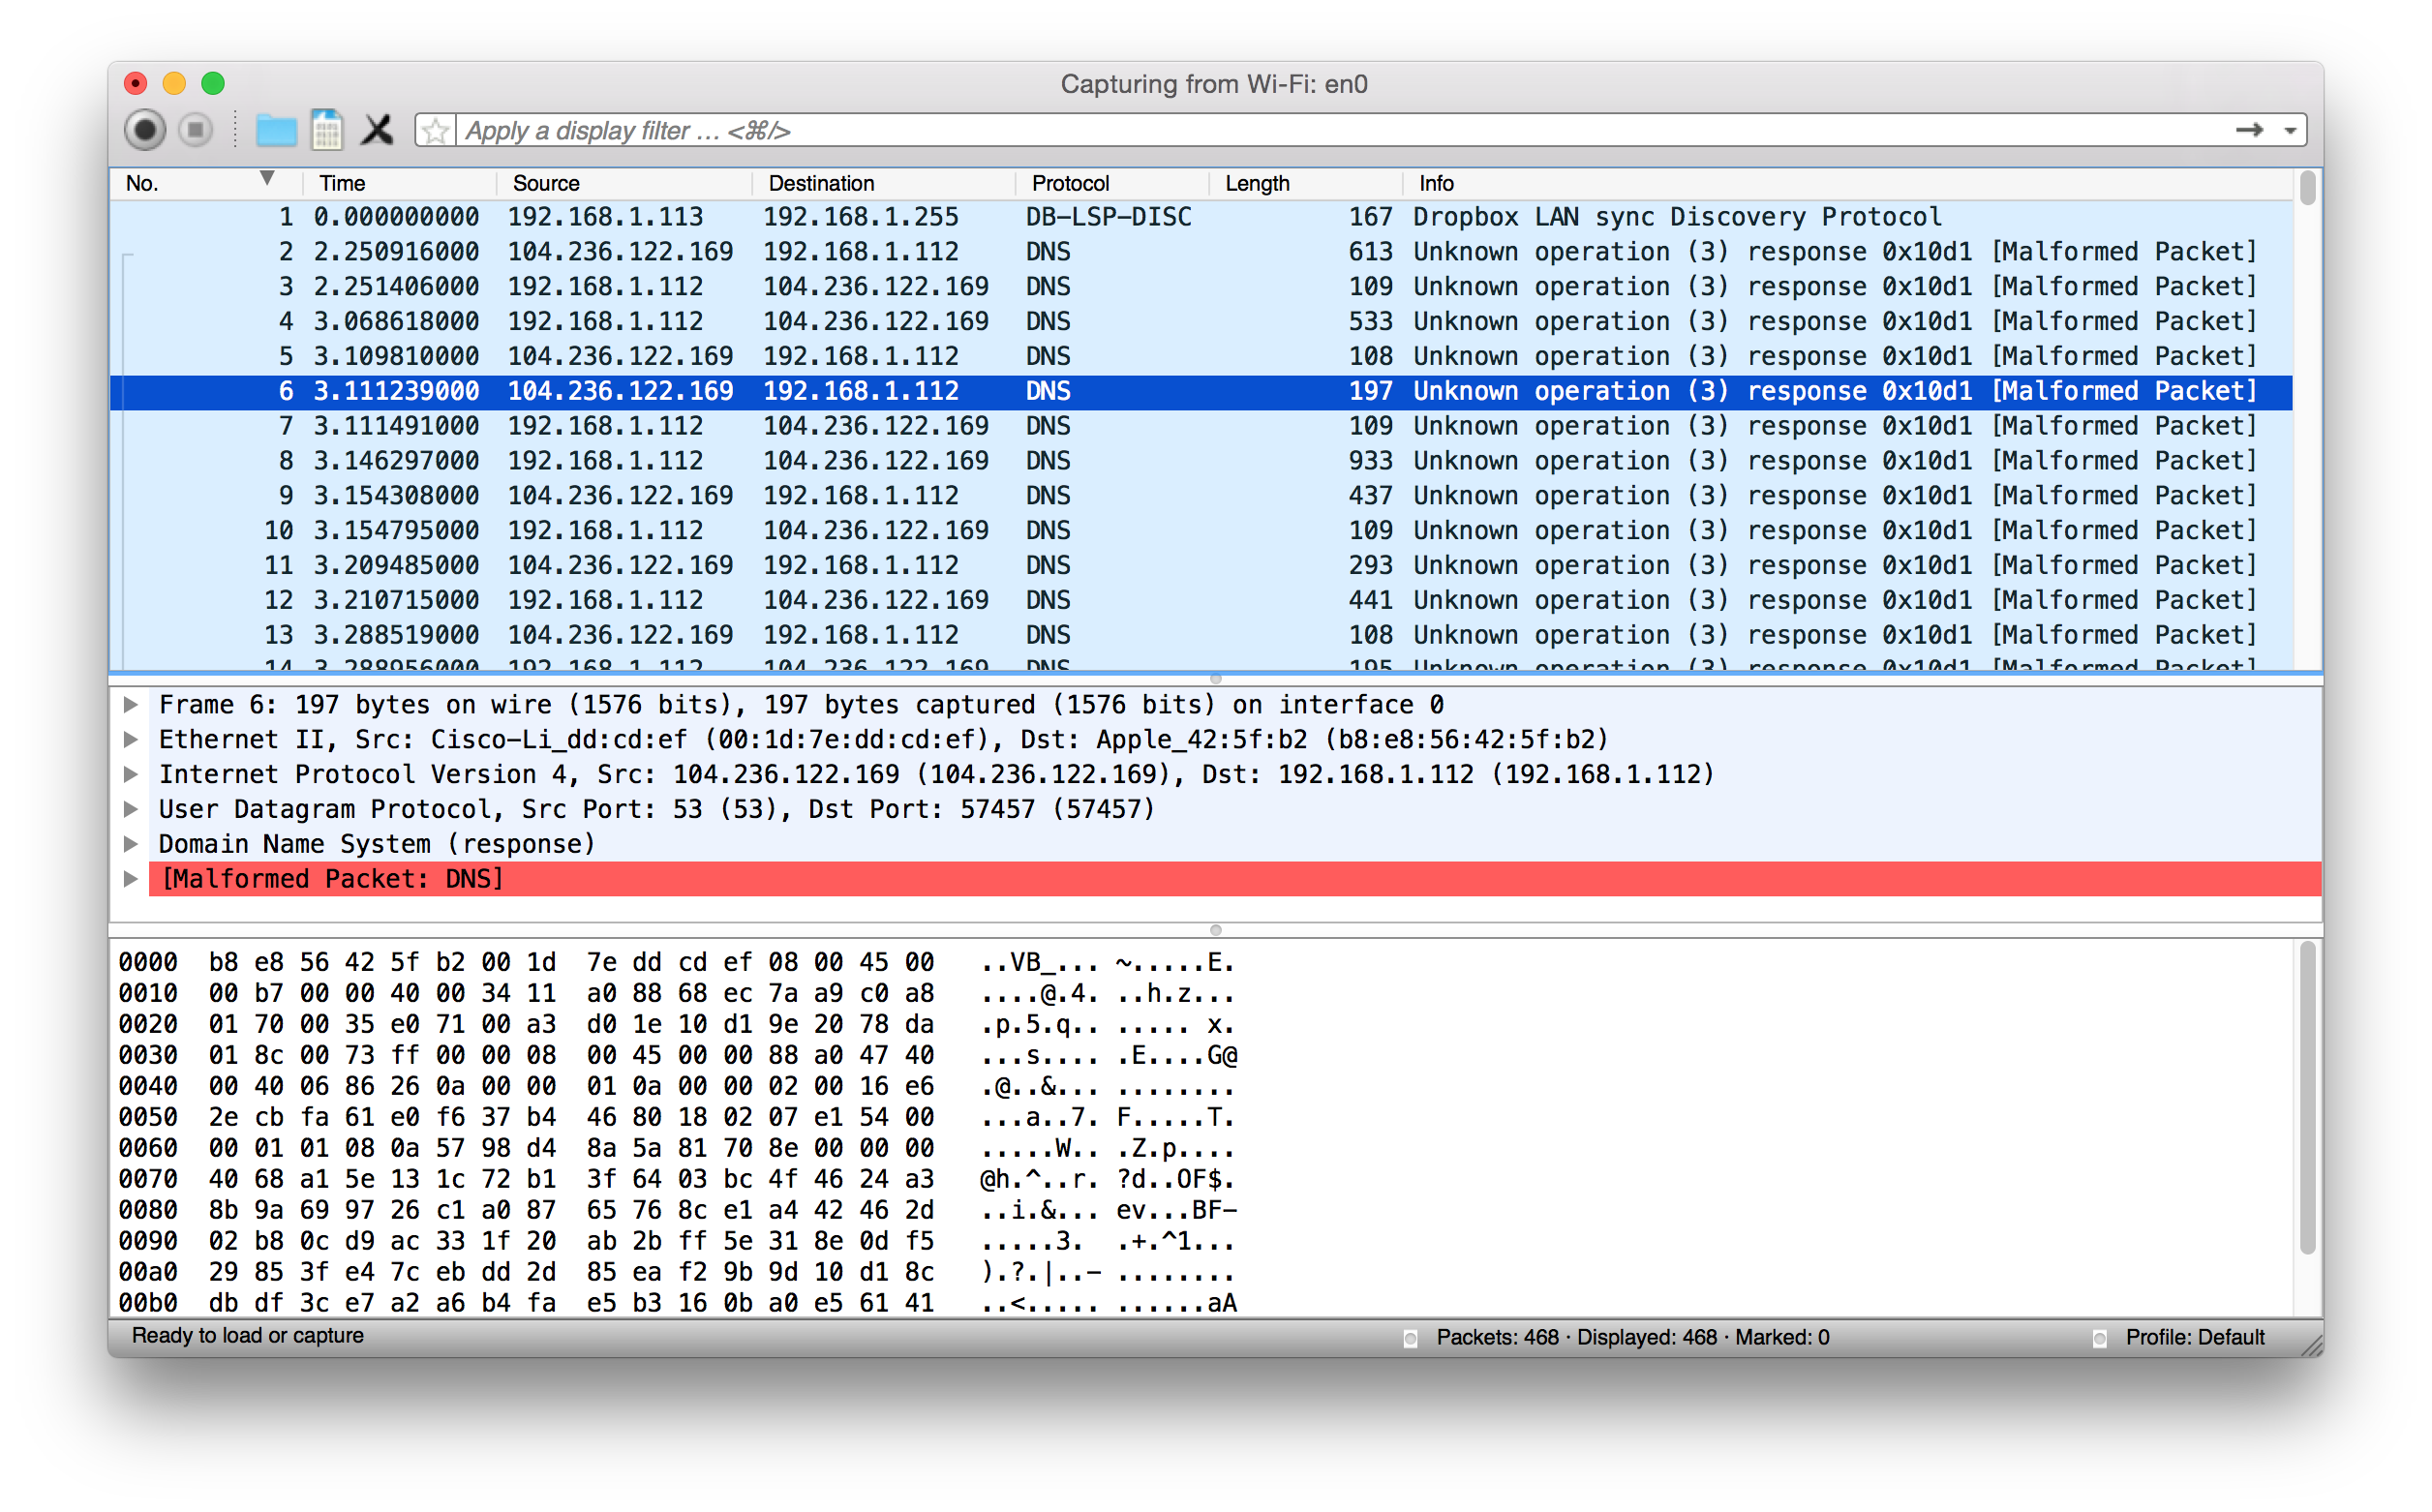
Also, if you do a Wireshark capture while browsing the web, you should see a bunch of DNS packets (since all your traffic is tunneling through DNS):
Now, go enjoy your private and unimpeded internet access right through that corporate or airport firewall!